IPInfo
This guide provides instructions for setting up an integration with IPInfo in your autobotAI account. By completing this process, you will connect your IPInfo account and its associated resources to the platform.
What is the IPInfo Integration For?
The IPInfo integration allows you to enrich your security data by providing detailed information about IP addresses, helping in identifying potential threats and enhancing your incident response capabilities.
Step 1:
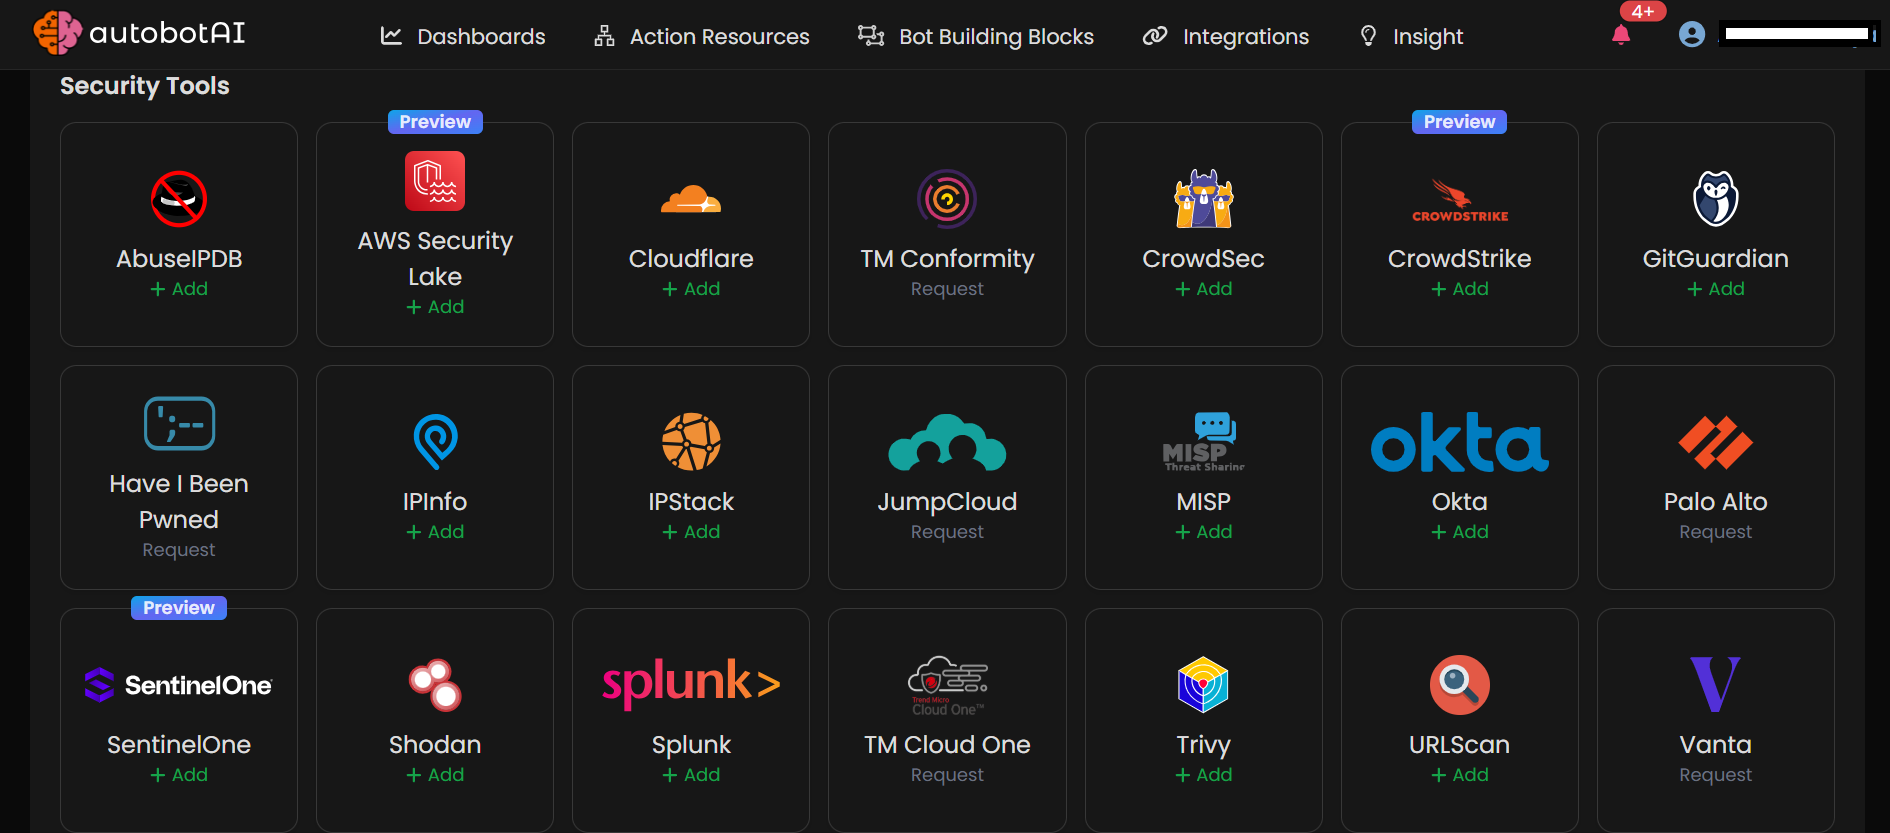
Navigate to the Integrations page by clicking on the Integrations menu. Once there, click the + Add Integration button located at the top right corner. A list of all available integrations will appear.

Step 2:
From the list, under the Security Tools section, select IPInfo + Add to create the IPInfo integration.
Step 3:
Fill in the required information in the fields provided:
Note: Fields marked with an asterisk (*) are mandatory.
- Alias: Provide a meaningful name or alias for this integration.
- Groups: Use groups to organize multiple integrations, similar to how labels work in Gmail.
- API Key: Enter your IPInfo API key.
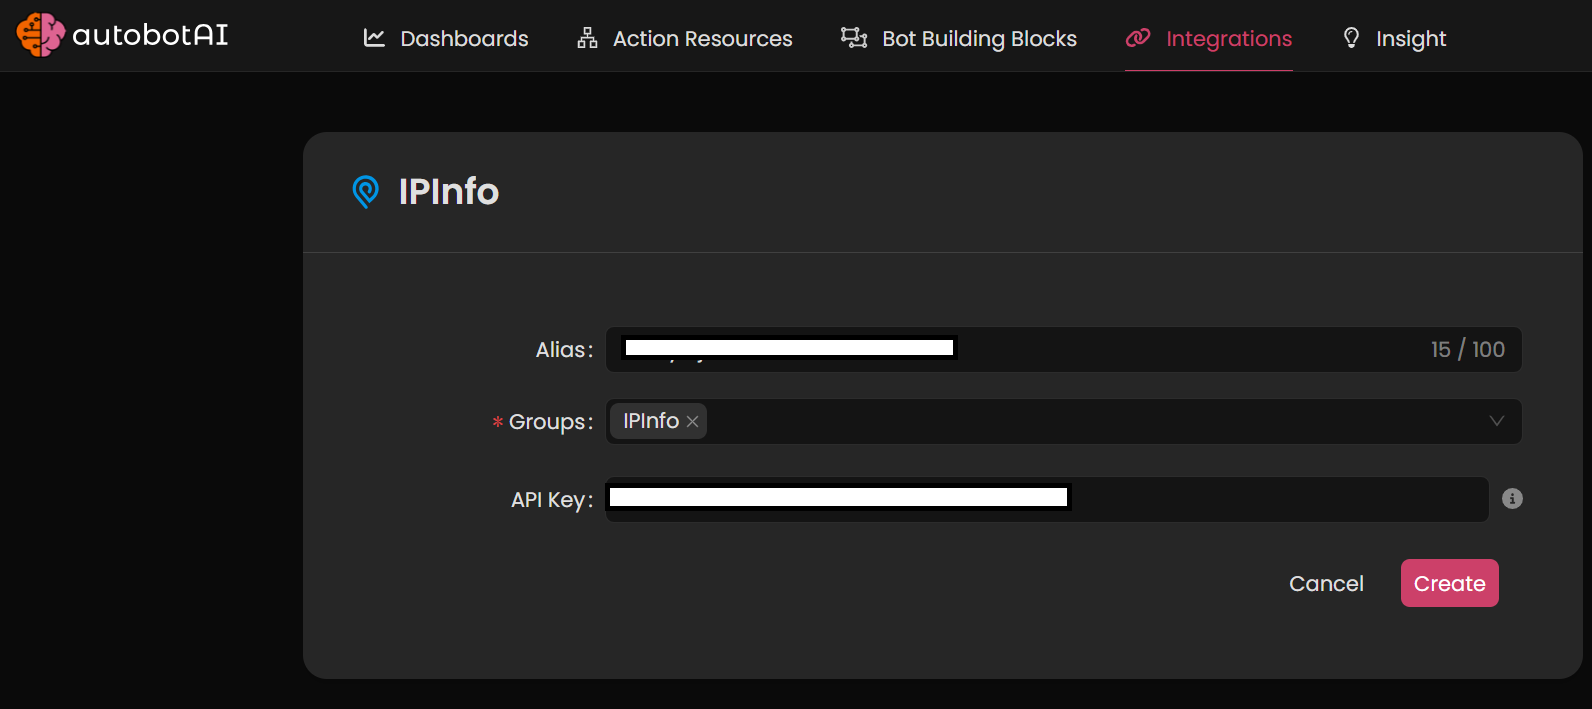
Ensure that all the information entered is correct, then click Create to complete the integration.
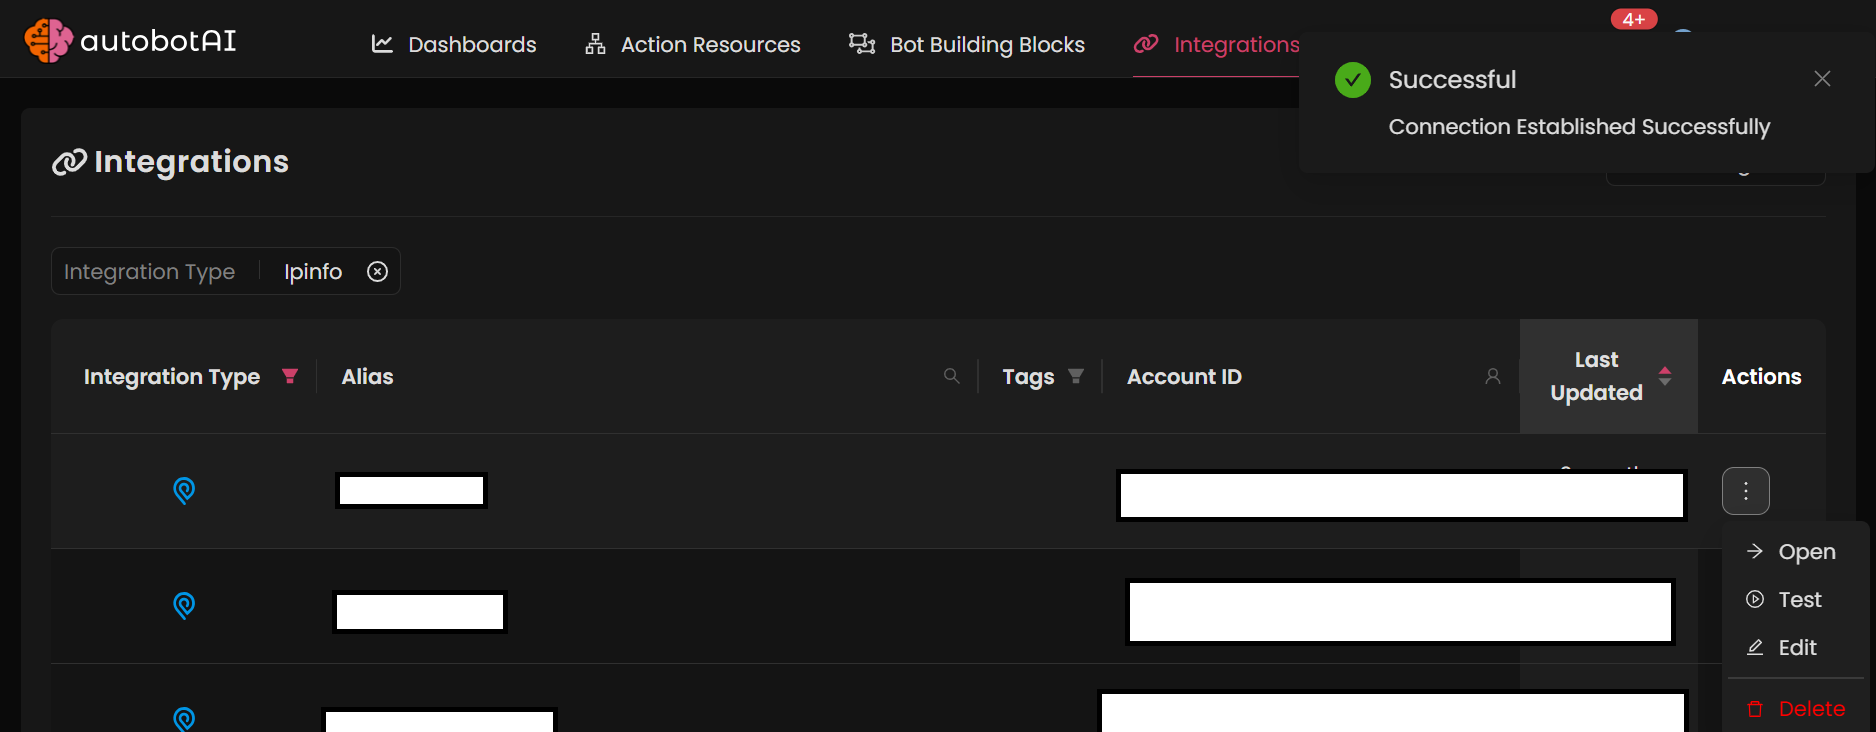
After the integration is created, navigate to your IPInfo integration on the Integrations page. Click the three dots next to the integration, and select Test to verify that the integration is configured correctly with autobotAI.
Additional Information
How to Retrieve Your IPInfo API Key
- Log in to your IPInfo account.
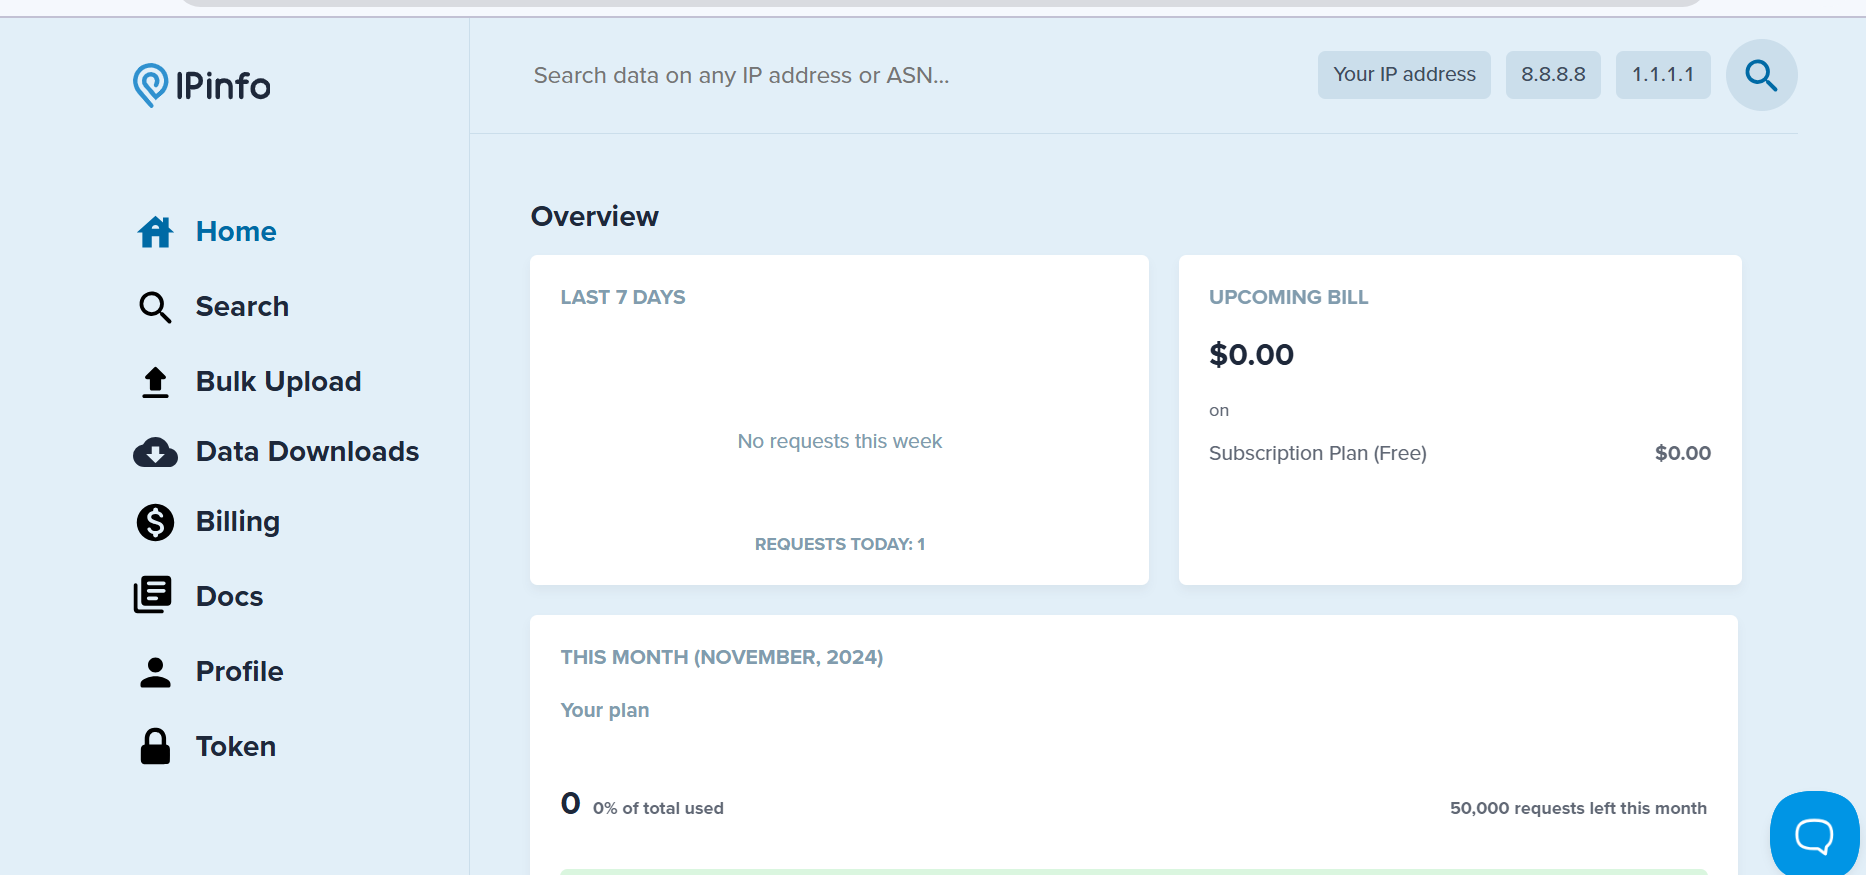
- Navigate to the Token section in left side.
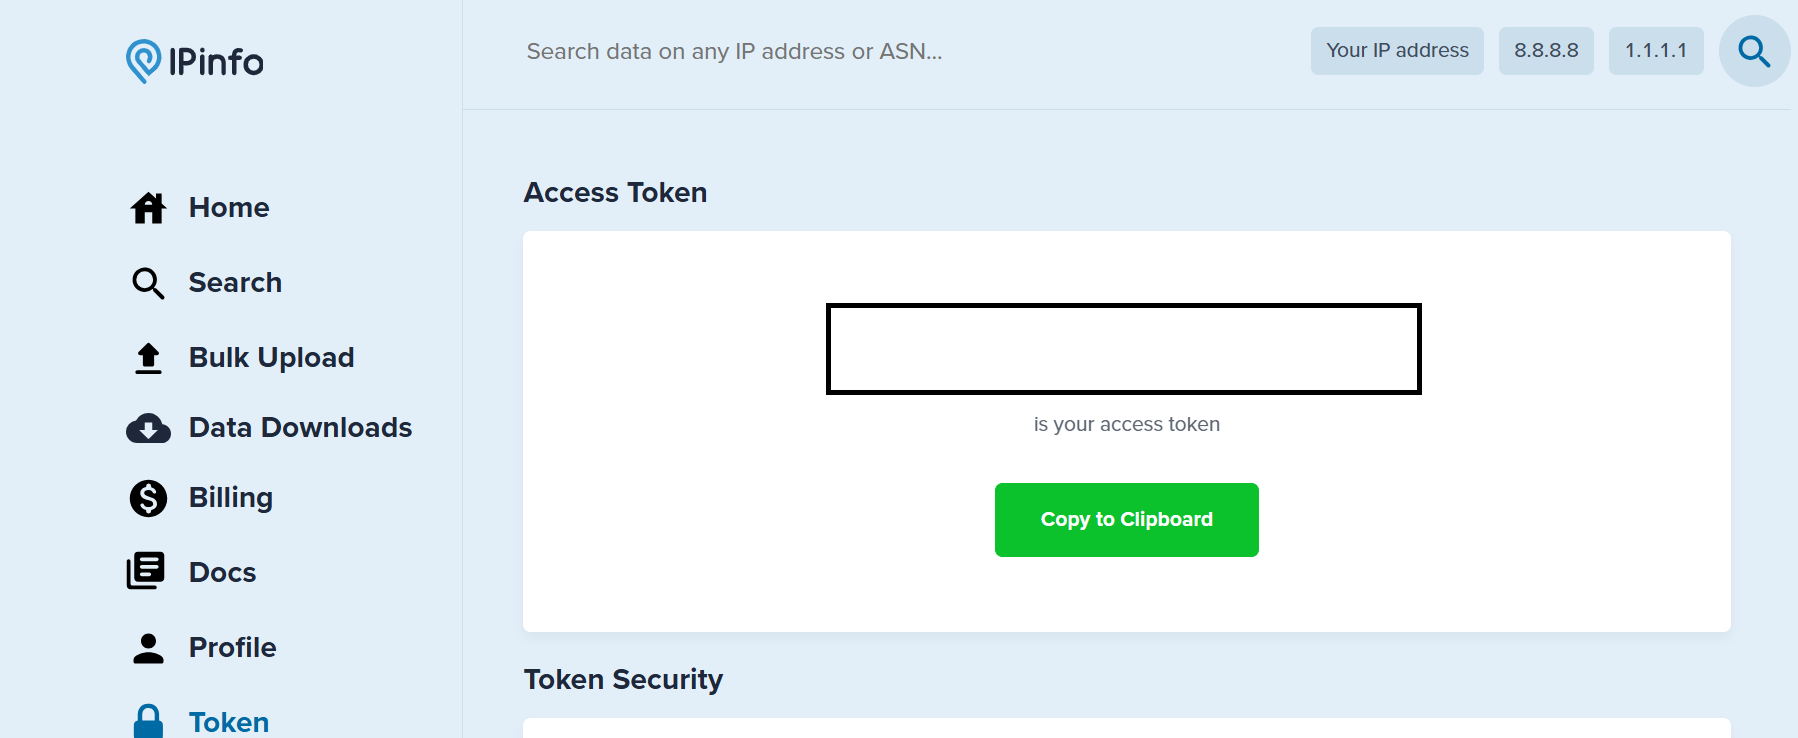
- If you do not have an existing API token, click on Create a New Token.
- Copy the generated API token and paste it into the integration setup in autobotAI.
Make sure to test the integration after setup to verify connectivity and functionality with your IPInfo account.

