Deploying Your First Workspace
A Workspace is a self-hosted deployment of autobotAI that runs within your own AWS environment. It gives you full control over your data, infrastructure, and integrations in a secure, isolated setup.
autobotAI is a modern hyperautomation platform designed for cloud and security operations. It brings together generative AI, no-code/low-code automation, and AIOps to help you automate workflows across your entire tech stack — including AWS, Azure, GCP, Kubernetes, security tools, and monitoring platforms.
Deploying autobotAI as a Workspace ensures you get all the platform’s power while staying compliant with your internal policies and infrastructure controls.

Prerequisites
Before deploying your Workspace, ensure you have the following:
-
✅ An active AWS account
-
✅ An active autobotAI subscription on AWS Marketplace
-
✅ Access to an IAM User with Administrator privileges >
🚨 Security Warning:
Do not use your AWS account root user to deploy or operate autobotAI Workspace.
Instead, create and use an IAM user with AdministratorAccess for initial deployment and restrict to least privilege for ongoing operations. -
✅ A valid Administrator Email to be used as the Workspace’s primary login
📌 Note: If your AWS account is new or hasn’t used ECS before, make sure the ECS service-linked role is available.
You can check and create it here.
Supported AWS Regions
autobotAI Workspace supports the following AWS regions for deployment:
- US East (N. Virginia) -
us-east-1 - Asia Pacific (Mumbai) -
ap-south-1
Coming Soon:
Europe (Ireland) - eu-west-1
Europe (Frankfurt) - eu-central-1
Asia Pacific (Sydney) - ap-southeast-2
Asia Pacific (Tokyo) - ap-northeast-1
Middle East (UAE) - me-central-1
Note: The “Coming Soon” regions are targeted for Q1–Q2 2026. For the latest updates, refer to https://autobot.live/docs or contact autobotAI support.
Deployment Steps
Step 1: Log into AWS
Open a new browser tab and sign in to your AWS Console using an IAM user with admin permissions.
📌 Note: Make sure your AWS account is subscribed to autobotAI on the Marketplace before deploying a Workspace. Subscription ensures access to deployment and platform services.
Step 2: Open autobotAI Dashboard
In a separate tab:
-
Go to autobotAI Dashboard
-
Click your Profile Icon in the top-right corner
-
Select Workspaces from the dropdown

📝 Don’t have an account yet? Learn how to set up your autobotAI account
Step 3: Create a New Workspace
Click on + New to create a new Workspace.
Fill in the form with the following details:
| Field | Description |
|---|---|
| AWS Account ID (12 digits) | The AWS account where the Workspace will be deployed |
| Administrator Email | This user will be the Workspace admin and receive login credentials via email |
| AWS Region | Select the AWS region where you'd like the Workspace to be deployed. |
| Workspace Name | Provide a unique name for your Workspace (used as a subdomain) |
| Workspace Version | Select the version of the Workspace to deploy (default: latest) |
| IAM User ARN for Cloud9 | The Cloud9 environment will be deployed for debugging purposes. Provide the ARN of an IAM user (typically your cloud admin). To find this: Go to AWS Console → IAM → Users → Select User → Copy ARN |
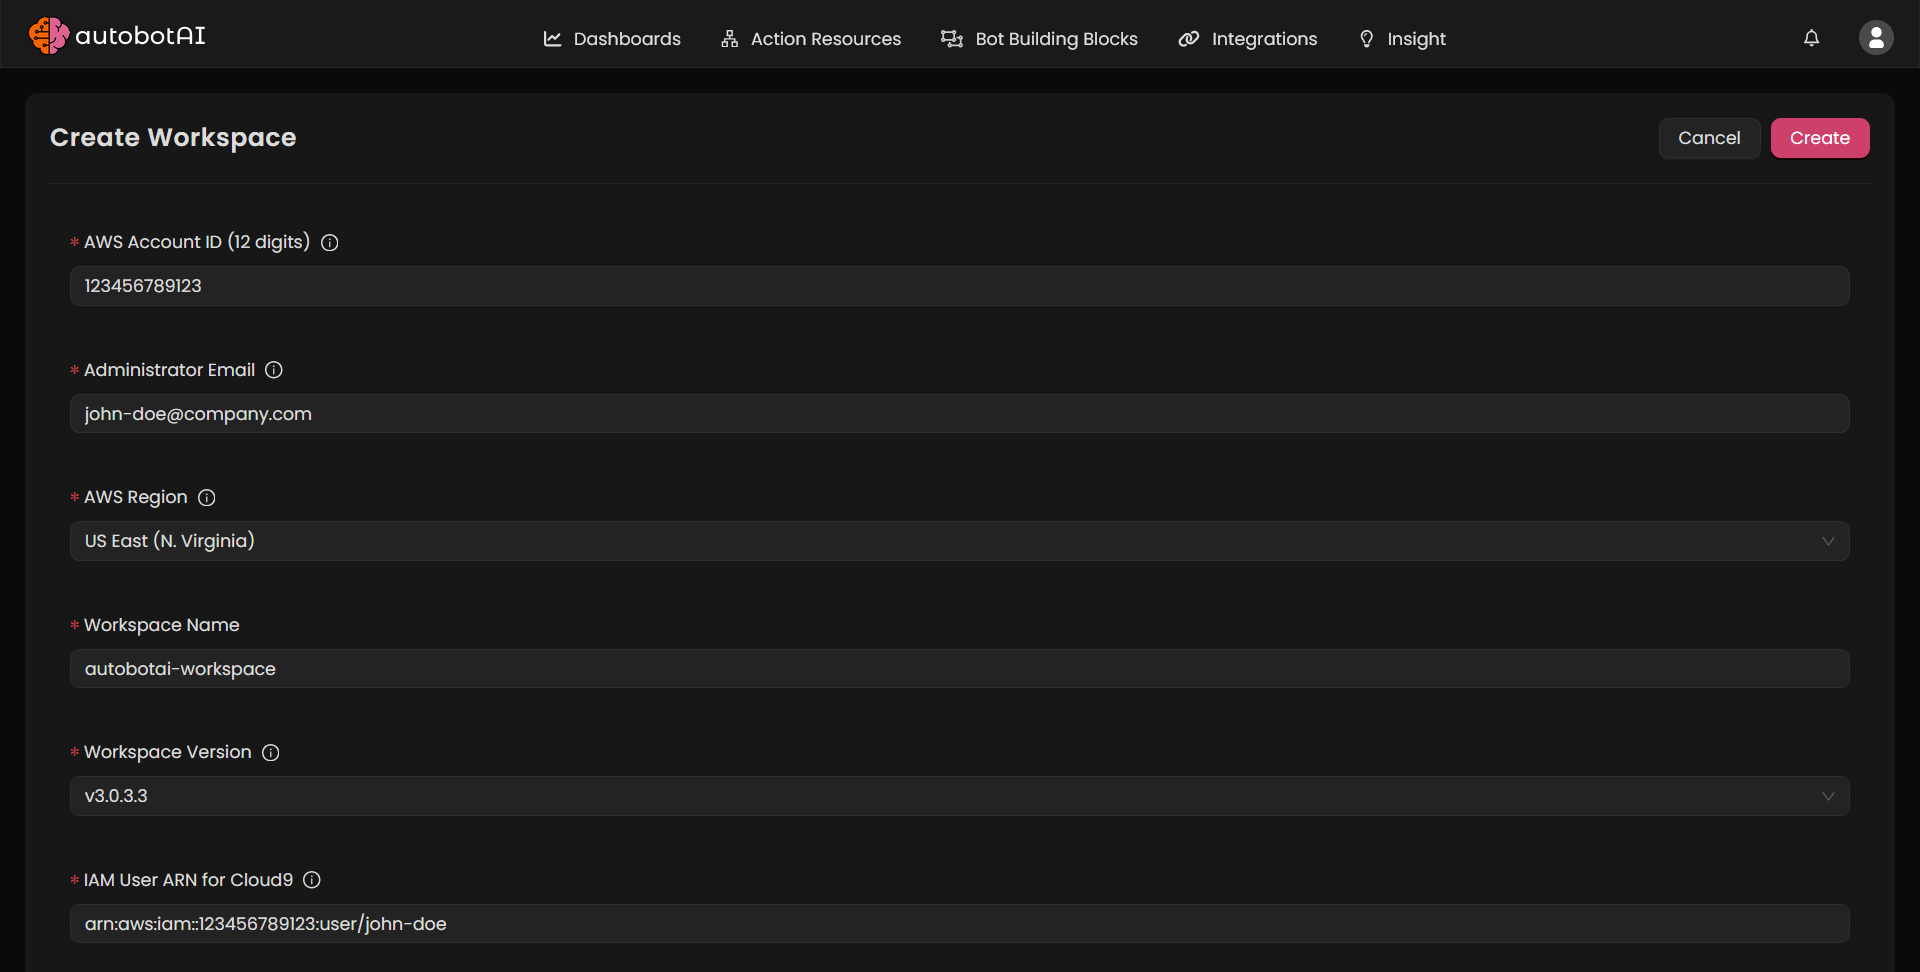
Click Create to continue.
Step 4: Launch the AWS Stack
Once you submit the form, you'll be prompted to launch the AWS CloudFormation stack.
-
Click Launch Stack — this will open the CloudFormation Console in a new tab
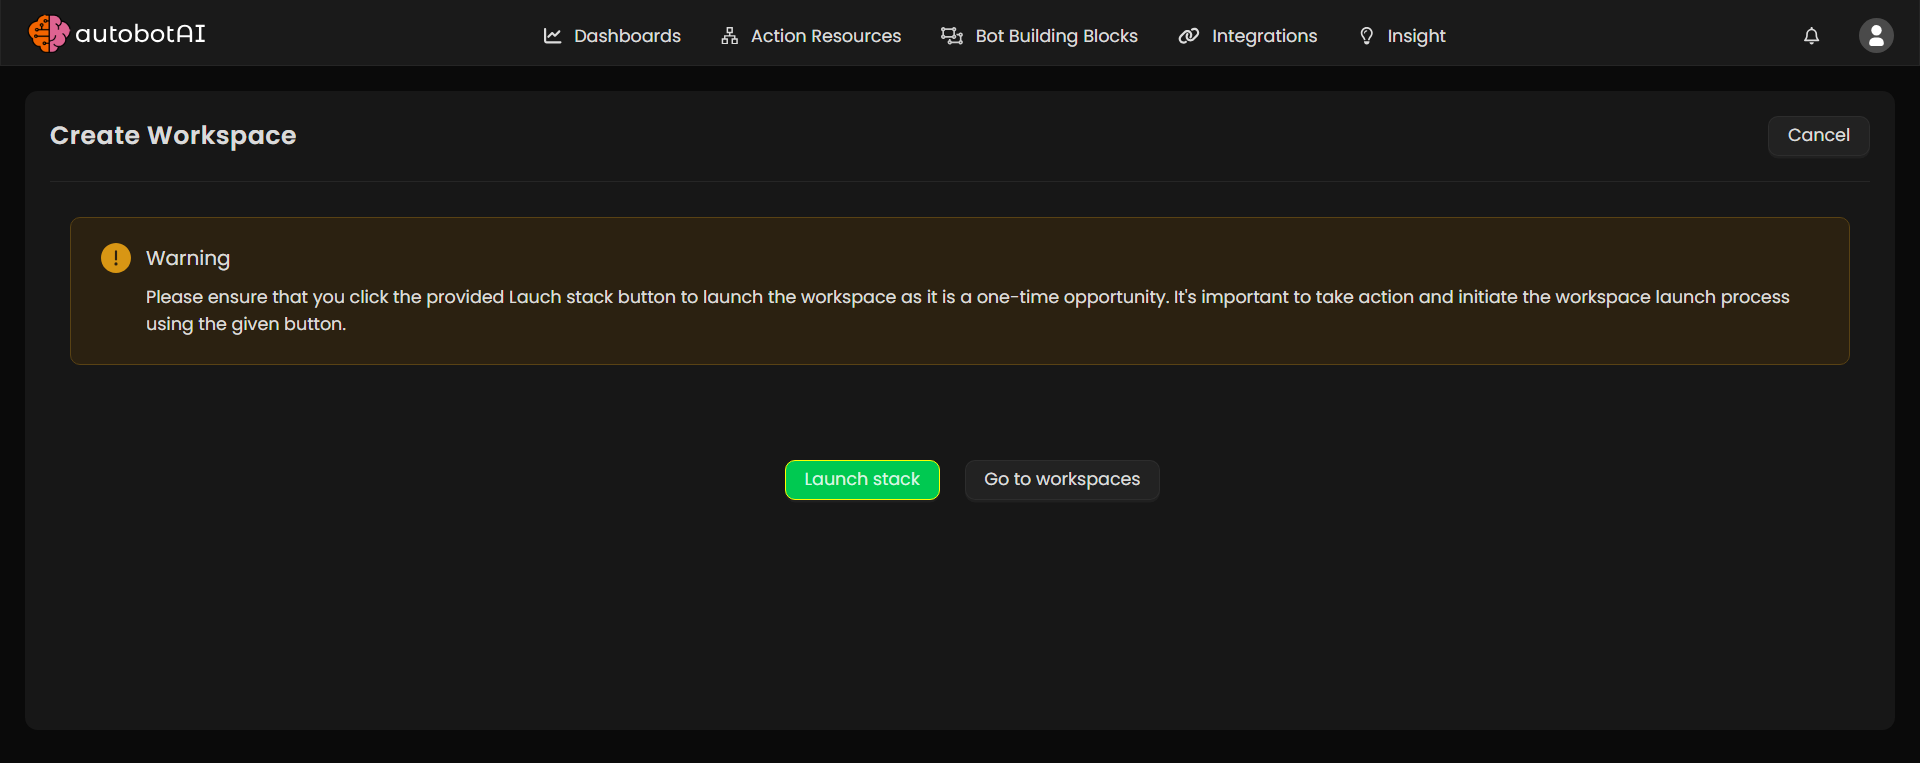
-
Scroll to the bottom of the page and check the acknowledgment box
-
Click Create Stack to begin deployment
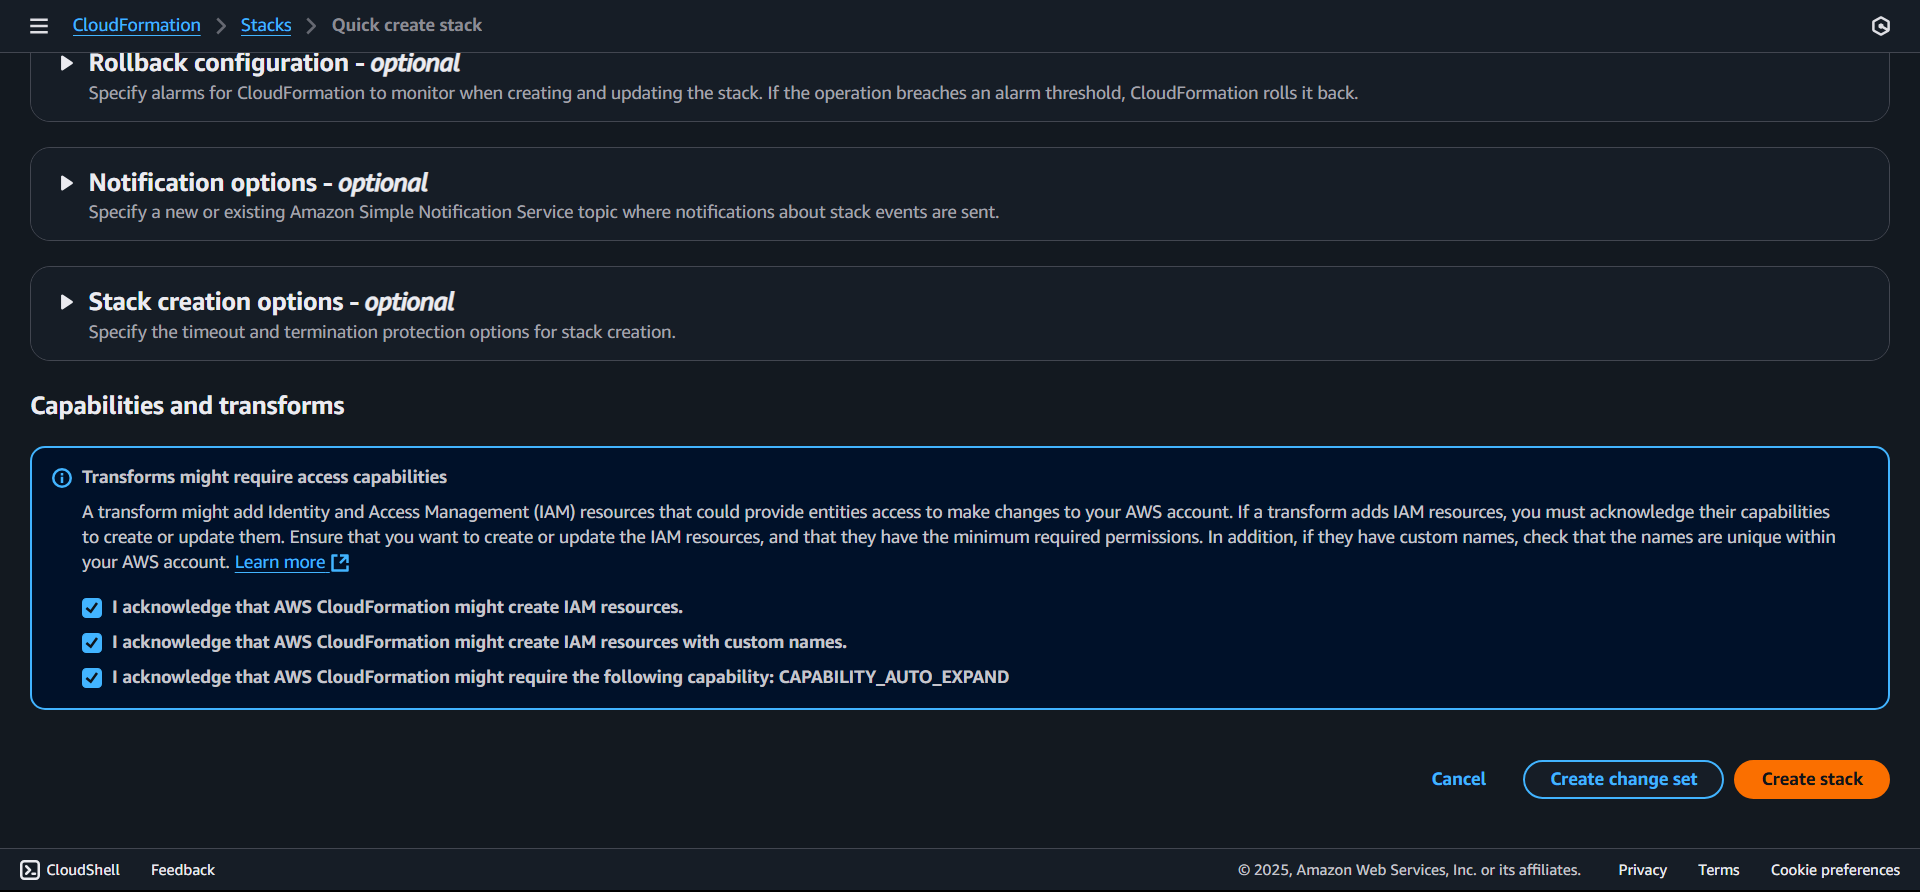
⚠️ Important: Do not change any of the parameter values — they are auto-generated by autobotAI
Step 5: Wait for Deployment
Estimated Deployment Time
The typical deployment time for autobotAI Workspace is 30–45 minutes, assuming the following:
- AWS account and IAM prerequisites are pre-configured
- Network infrastructure (VPC, subnets) created by CloudFormation
- Database services (DynamoDB, DocumentDB) provisioning complete
- Compute services (Lambda, ECS) deployment and container image pulls
- API Gateway and Cognito setup
- Testing and validation of basic workspace health
Note: Deployment time may vary by AWS region and network connectivity.
Caution: Large enterprise customizations (e.g., custom VPC CIDR planning) may extend deployment time.
Setting Up Workspace Credentials
Once your stack is deployed:
-
Go back to the Workspaces section on the autobotAI dashboard and wait for the Workspace status to change to "Running".
-
Click Actions → Go to Workspace next to your deployed Workspace.
-
You'll be redirected to the Workspace's dedicated subdomain
-
Log in using the temporary credentials sent to your administrator email
-
You'll be prompted to set a new password
-
Set up 2-Factor Authentication (2FA) using apps like Authy or Google Authenticator
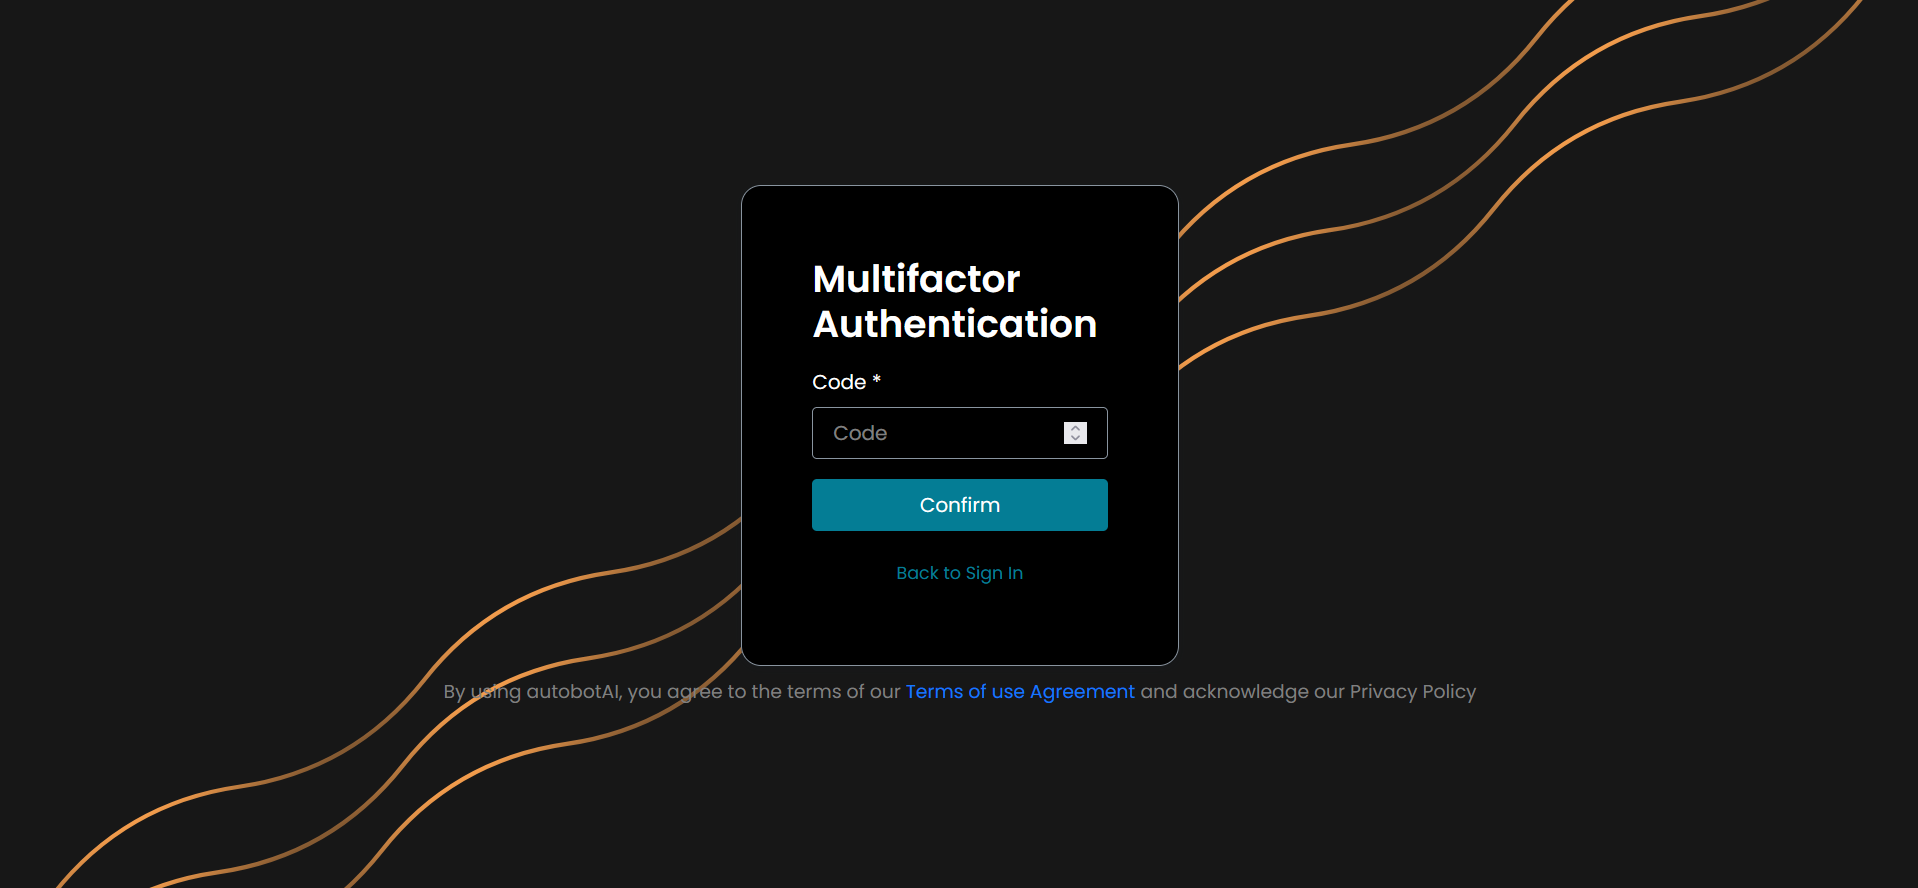
🔐 Backup Reminder: Save your 2FA secret in a secure location.
❗ If you lose access to your authenticator and secret backup, you’ll need to redeploy the Workspace. -
Enter the OTP from your authenticator to complete the setup
-
You'll be redirected to the autobotAI Workspace homepage
Check ECS Service-Linked Role
🛠️ In some newer AWS accounts — or if ECS hasn't been used before — the ECS service-linked role may be missing.
This role is required for successful Workspace deployment.
To check and create it, follow these steps using AWS CloudShell
1. Open CloudShell
From the AWS Console, click the CloudShell icon in the top navigation bar.
2. Check if the ECS service-linked role exists:
Run following command:
bashaws iam get-role --role-name AWSServiceRoleForECS
If you see an error like NoSuchEntity, the role does not exist yet.
3. Create the ECS service-linked role (if needed):
Run following command:
bashaws iam create-service-linked-role --aws-service-name ecs.amazonaws.com
Once this role is created, you can continue with launching the CloudFormation stack.
Add a new section after “## Check ECS Service-Linked Role” and before “## What’s Next?”
Security Architecture
Public Resources
autobotAI Workspace deploys a minimal set of public-facing resources in your AWS account to ensure secure, isolated access:
| Resource | Access Type | Security Controls |
|---|---|---|
| Application Load Balancer (ALB) | Public HTTPS | Exposes Workspace UI and APIs securely |
| API Gateway (REST API) | Public endpoint | AWS Cognito authentication and backend service endpoints |
| CloudFront (optional) | Public CDN | Distributes static assets when configured |
| Public Subnets | Public network | Contain only ALB and NAT Gateway; no compute or database services |
Note:
- All compute (Lambda, ECS) and data (DynamoDB, DocumentDB) resources remain within private subnets.
- No Amazon S3 buckets deployed by autobotAI are publicly accessible by default.
- Any custom S3 bucket you create for bot imports/exports should follow the least-privilege access model and encryption policies.
- Review all public endpoints and consider enabling AWS WAF or IP restrictions for additional protection.
IAM Roles and Policies – Purpose Overview
autobotAI deployment creates the following IAM roles and policies with scoped, least-privilege permissions:
| IAM Role | Purpose | Key Permissions / Notes |
|---|---|---|
| Lambda Execution Role | Executes automation workflows and API functions | Grants Lambda functions access to specific DynamoDB tables and CloudWatch Logs. Role Name: autobotAI-LambdaExecutionRole |
| ECS Fargate Task Role | Executes containerized tasks for extended automation jobs | Pulls container images from ECR, writes logs to CloudWatch, access to specific AWS services (S3, Secrets Manager). Role Name: autobotAI-ECSTaskRole |
| API Gateway Invoke Role | Invokes backend Lambda functions securely | Allows API Gateway to invoke designated Lambda functions, authenticated via Cognito. Role Name: autobotAI-APIGatewayInvokeRole |
| CloudFormation Execution Role | Provisions and updates all stack resources | Grants permissions for VPC, IAM roles, Lambda, ECS, DynamoDB, DocumentDB, API Gateway, CloudWatch. Role Name: autobotAI-CloudFormationRole |
| Cognito Identity Role | Manages temporary federated credentials for users | Enables sts:AssumeRole for federated identity management |
Best Practices:
- Review all IAM roles after deployment to ensure least-privilege policies.
- Do not manually modify role policies unless instructed by autobotAI support.
- All roles use the
autobotAI-prefix and include auto-generated inline policies that can be reviewed for additional restrictions.
What’s Next?
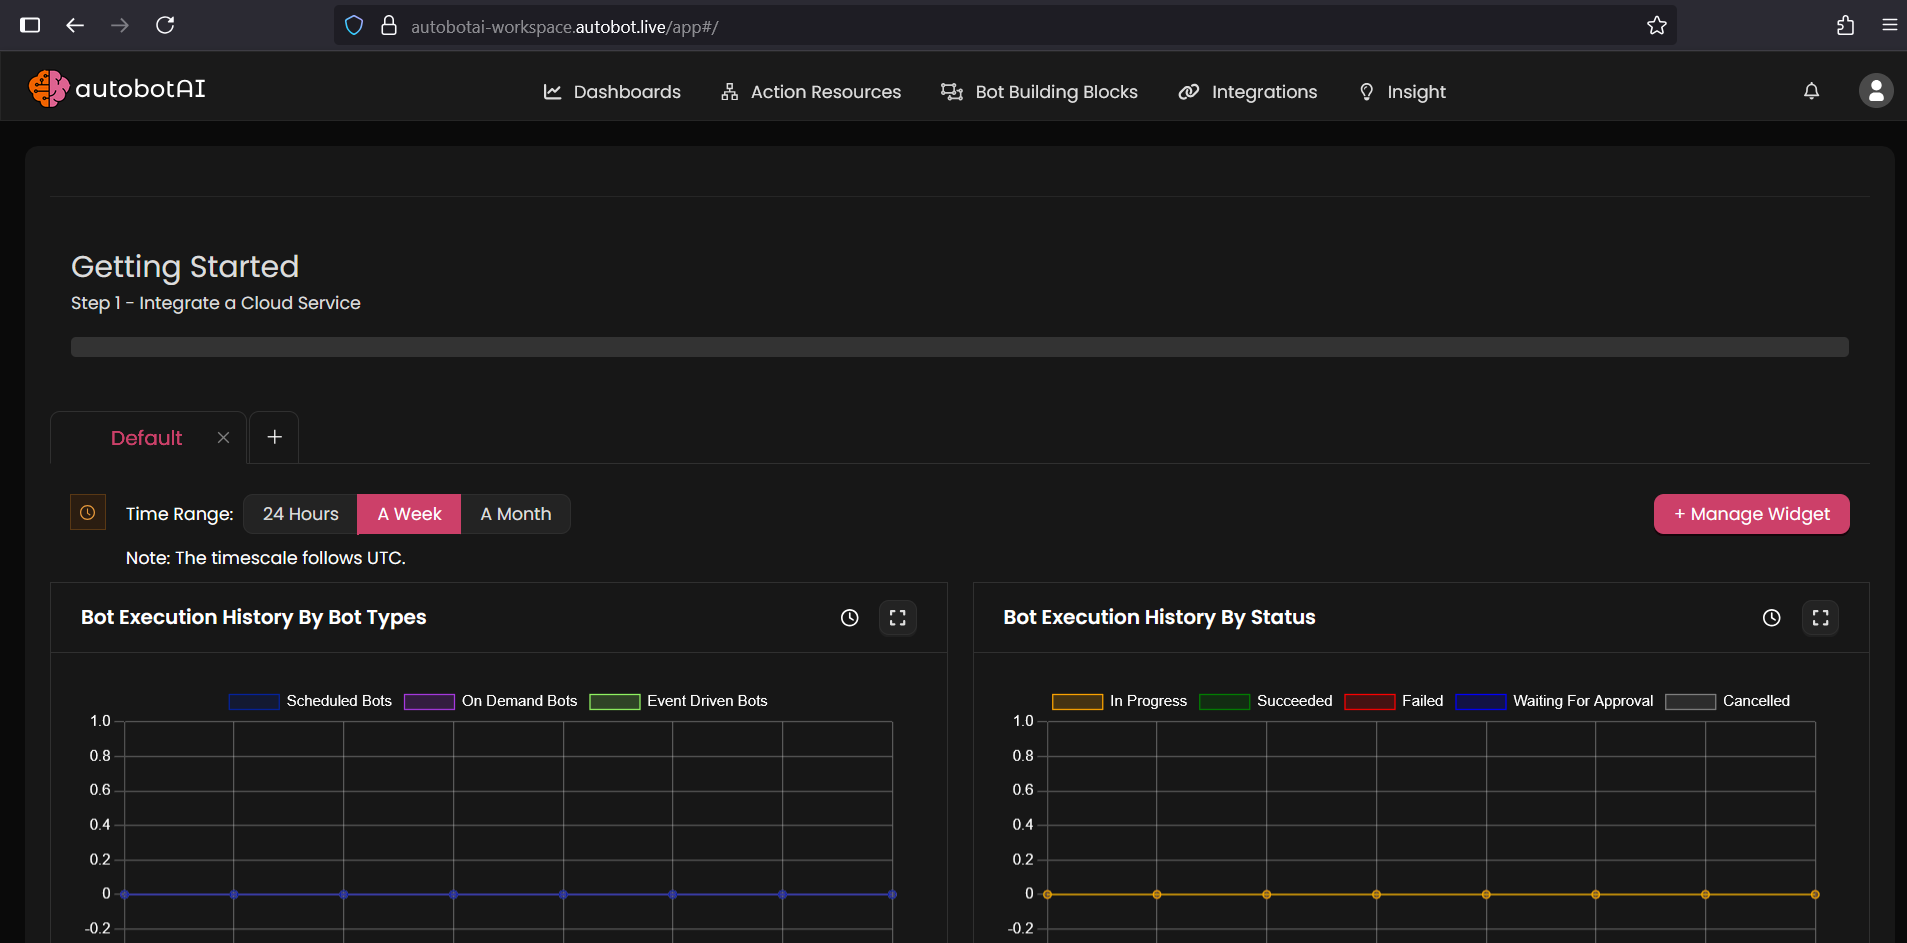
Your Workspace is now active — and you’re ready to unlock the full power of autobotAI.
autobotAI is designed to help you automate and streamline cloud, AI, DevOps, and security workflows using an intuitive no-code/low-code interface powered by generative AI.
The next step is to connect your tools and services by setting up integrations. autobotAI supports hundreds of integrations including:
- 🌩️ Cloud Platforms (AWS, Azure, GCP)
- 🧠 Large Language Models (OpenAI, Ollama, Bedrock)
- ⚙️ CI/CD Tools (GitHub, GitLab, Bitbucket)
- 🛡️ Security Platforms (CrowdStrike, Snyk, GitGuardian)
- 📈 Monitoring & Observability (Datadog, New Relic, Opensearch etc.)
- 🛰️ Agents & Runners (Kubernetes, Linux)
- 💬 Communication Tools (Slack, Email, Microsoft Teams)
- ...and many more!
📘 Learn How to Use Integrations
Each integration has its own configuration steps and usage patterns. Visit the integration documentation to:
- Understand the prerequisites
- Learn how to connect your accounts
- Explore example automation workflows
Here are a few recommended integrations to get started:
- Integrating with AWS
- Integrating with AWS Bedrock
- Integrating with GitHub
- Integrating with Kubernetes
- Integrating with Slack
💡 Tip: After setting up an integration, go to the Bots tab in your Workspace to start building automation workflows using those services.
💡 You can also explore a wide collection of prebuilt autobotAI workflows in the Bot Library to get started quickly.